WPLift is supported by its audience. When you purchase through links on our site, we may earn an affiliate commission.
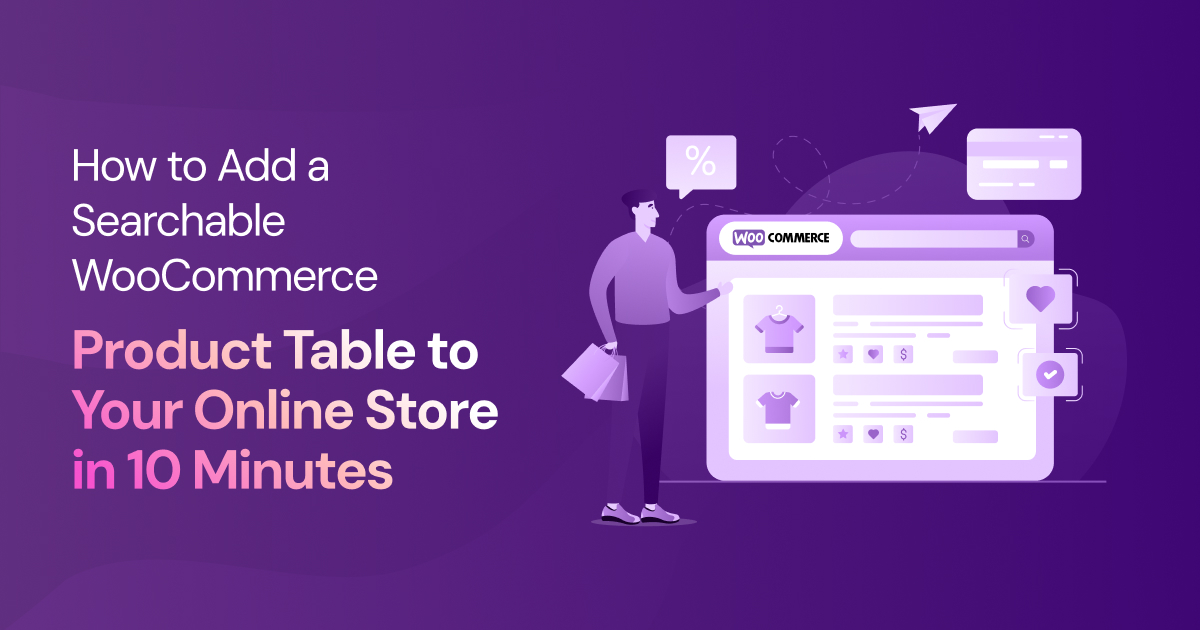
How to Add a Searchable WooCommerce Product Table to Your Online Store in 10 Minutes!
Adding a searchable WooCommerce product table to your online store can be a simple and effective way to improve user experiences by making it easier for customers to find their favorite products and pinpoint exactly what they’re looking for.
Yet, if your current online store theme or page builder doesn’t support product tables by default, you’ll have to make your own.
This guide will show you how it’s done.
Below, you’ll discover:
- The best tools to create dynamic product tables in WooCommerce
- Step-by-step instructions showing you how to build a product table
- Our advice and recommended best practices for using your tables effectively.
Let’s get started.
Why Use Product Tables in Your WooCommerce Store?
A traditional WooCommerce shop layout works well for some stores, but it isn’t always the most efficient way to showcase products. This is especially true if you have a large catalog, complex product variations, or customers who frequently shop in bulk.
Product tables solve this by:
- Speeding Up Product Discovery – Customers can quickly search, sort, and filter through products instead of clicking through multiple pages. The quicker it takes them to find what they want, the quicker they can check out and the more satisfied they are.
- Improved Product Comparisons – A structured table layout makes it easier to compare products at a glance, helping shoppers to make informed decisions, faster.
- Boosting Conversions – The less time a customer has to spend researching and searching for products, the sooner they can make their purchase and the faster you get paid.
- Enhancing Bulk Ordering – Dynamic pricing tables are perfect for wholesale stores, restaurants, and B2B businesses where customers need to add multiple items efficiently.
- Offering More Control Over Product Display – Choose exactly which product details to showcase, from images and prices to custom attributes, stock levels, and add-to-cart buttons.
Top 5 WooCommerce Product Table Plugins
Using a plugin isn’t the only way to add product tables to your WooCommerce store, but it’s certainly the quickest and most simple, especially if your page editor doesn’t include features that allow you to build them.
Below, you’ll find a quick look at our top five recommended plugins:
| Plugin Name | Best For | Price |
| WooCommerce Product Table by Barn2 Plugins | Quickly filtering large product catalogs | $99 p/y |
| Ninja Tables | Custom design, complex data | $63 – $299 p/y |
| WC Product Table | Simple tables, free option | Free – $59 p/y |
| CodeAstrology Product Table | Drag-and-drop table design | $39 – $89 p/y |
| Product Table by WooBeWoo | Responsive design options. | Free – $599 p/y |
Pick one of those, and let’s get to work.
How to Create A WooCommerce Product Table: 10 Simple Steps
1. Install and Activate Your Product Table Plugin
For this tutorial, we’ll be using Barn2’s WooCommerce Product Table plugin.

So, our first task is to get that plugin up and running on our WordPress site by going to https://barn2.com/wordpress-plugins/woocommerce-product-table/ and purchasing the product.
If you choose a different plugin, you’ll find the process to be similar. Download your plugin from its website, then login into WordPress and go to Plugins – Add New Plugin – Upload Plugin.

Select the file from your device, then click Install.
Alternatively, you can use one of the countless free and freemium options listed in the WordPress plugin repository.
2. Add a New Table
Next, navigate to Products – Product Tables and select Add New.

Give your table a name, then choose how it should be added to your WooCommerce store.

For this guide, we’re creating a table that can be added using a shortcode or a Gutenberg block. However, if you’ve already created the rest of your store content and now it’s just missing a table, you can choose to build it directly within a specific page.
Once you’ve selected an option, click Next.
3. Select Which Products to Display
From there, you can now select which products to display within your table.

If you only have one or two, picking All Products may be fine.
If your inventory is more extensive, you may want to follow our example by opting for Select Specific – Products – Individual Products, then selecting one or more items from the drop-down menu provided.
4. Configure Your Table Columns
Moving on, you can begin to edit and customize your table columns.

Existing columns can be reordered by clicking and holding the three sets of dots next to each one and moving them into place.
You can also click the edit pencil to configure various settings, such as:
- The column heading text
- Whether or not the column’s content should link anywhere
- Where it should link to
- Custom column widths
- Visibility on different devices.

If the default columns don’t work for you, you can always delete them and/or add new ones from an extensive drop-down menu.
5. Configure Add-to-Cart Options
Once you’ve got all your columns exactly as you want them, hit Next to configure the way customers add products from the table to their shopping cart.

First, select from one of the following three Add to Cart Methods:
| Method | Best for |
| Shopping cart button | Single, quick purchases |
| Checkboxes | Multiple product selection |
| Cart button & Checkboxes | Flexible bulk purchases |
Then, if your product has variations, select how they should be displayed.

6. Opt-In to Lazy Loading
While this step is entirely optional, we still recommend enabling Lazy Loading for your table to minimize its performance on your page load times and help speed up your WordPress site.

7. Configure Search, Sort, and Filter Settings
If you’re selling a large variety of products with different categories, attributes, or variations, then it makes to enable drop-down filters that let customers refine their search and find the precise product they’re looking for.

After clicking in the checkbox labeled Enable filter dropdowns, you can then use the drop-down menu to choose from a number of different filtering options including:
- Tags
- Categories
- Size
- Color
- Product type.
Next, you can determine whether products are sorted in search results by ID, name, price or other variables.

Finally, you can set whether products should be listed in ascending or descending order by default.

For example, you might have it so that when a user searches by price, your most expensive, top-of-the-line items appear first, with the list descending to later display your less-expensive products.
Figure out what works best for you, then hit Next.
8. Customize Your Table Design
After configuring your sort and search options, you’ve technically finished building your table. The plugin will present you with a shortcode that you can now use to embed that table into any page on your website.
However, you may want to hold off on that for just a moment while you focus on tweaking the look and feel of your new form.

As you can see in the image above, the default table template looks clean, neat, and modern, but that doesn’t necessarily mean it blends well with your brand aesthetic.

To correct that, select from any of the pre-made templates available.

From there, you can change the colors for practically every element of your table, including:
- Table borders
- Headers
- Text
- Buttons
- Search functions
- Dropdown menus
- Checkboxes
- Cell backgrounds.
You can also:
Change the font size for different types of text (header, buttons etc.)
Select different corner styles, including:
- Square
- Round
- Fully-round.

Having done all that, click Save Changes and your table is complete.
9. Add Your Table to Your Store
Finally, return to the main product page and copy your table’s shortcode. In this example, we selected the code for a table displaying clothing accessories.

From there, simply open up the page on which you want to display your table, and paste in the shortcode.

Hit Save, and that’s all there is to it.

Your page should now show a fully-functioning product table, complete with search and filtering options, making it as easy as possible for customers to find the products they want.
10. Test and Tweak
Of course, the only way to know for sure if all that hard work paid off is to test your table. Before you make your new table live, go through it and use it as if you were one of your own customers.
- Is it easy to navigate?
- Do buttons and hyperlinks function as expected?
- Is it displaying the correct product data?
- Do your design choices go well with the rest of your website?
- Does it function just as well on mobile and tablet devices as on your laptop or desktop computer?
If you answered yes to all those questions, your work here is done. If there’s anything askew, consult your plugin’s customer support or documentation to figure out how to fix it.
How to Build a Searchable WooCommerce Table: Key Takeaways
So, there you have it: Everything you need to know to quickly and simply build a fully functionable product table complete with search and sort features. By adding this table to your website, it becomes easier than ever for customers to locate exactly what they’re shopping for and move straight to the checkout.
As a result, you can reduce friction in your store’s buying process, improve customer satisfaction, and, ultimately, boost conversions.
Before we finish, let’s wrap up with the three most essential take-aways from this guide:
- Large-scale websites benefit most from product tables – Though they’re suitable for all types of eCommerce stores, those with large product inventories will see the biggest impact, thanks to faster product discovery, improved navigation, and a more efficient shopping experience.
- Plugins are the easiest way to build your tables – We chose the WooCommerce Product Table plugin by Barn2 thanks to its beginner-level simplicity and solid feature set, though there are plenty of other tools out there.
- Test your form works before going live – Your product data should be displayed correctly on all devices, with functioning buttons and hyperlinks. If it isn’t, correct course before going live.
For more tools to help you grow your online store, checkout these top 25 WooCommerce plugins.


