WPLift is supported by its audience. When you purchase through links on our site, we may earn an affiliate commission.
PQ.Hosting Review: Is It the Right VPS for You?

If you’ve ever scrambled to launch a VPS before a product drop, you know how painful it can be to rely on clunky dashboards and slow support.
From confusing forms to error-prone setups, even a simple deployment turns into a mess when the hosting just isn’t built for speed.
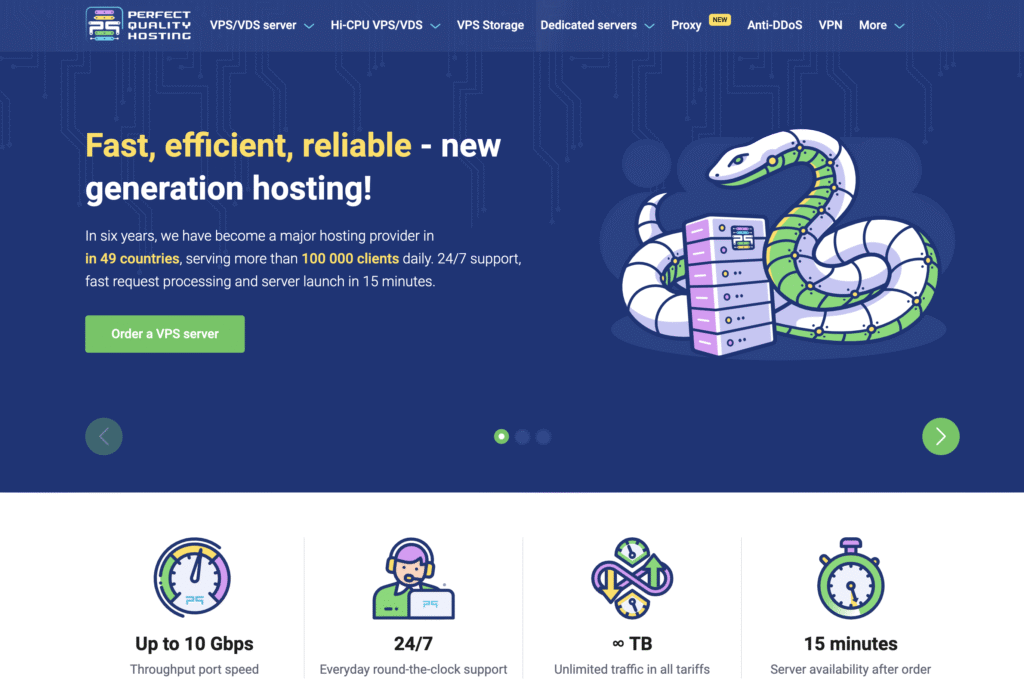
Enter Perfect Quality Hosting (aka. PQ.Hosting), a global provider that cuts the fluff and gets you online fast, with 10 Gbps ports and servers in 40+ countries.
You pick the location. Set the specs. And minutes later, you’re in.
But is speed everything?
What happens when something breaks at 2 a.m.? When the server slows down? Or when you need real support, not auto-replies?
In this hands-on review, I’ll walk you through what PQ.Hosting actually delivers — and where it might catch you off guard.
PQ.Hosting: Overview and Key Features
PQ.Hosting is a hosting provider that focuses on giving you fast servers, full control, and global reach.
It’s built for developers, freelancers, and anyone who knows their way around a VPS and wants more flexibility.
Using PQ.Hosting means you can spin up a server in minutes, in locations that many hosts don’t even touch.
Key features:
- Global server coverage (49+ countries): Choose from a wide mix of global locations including Spain, Latvia, Korea, and New Zealand.
- Fast activation: In just 15 minutes, you’ll have full root access and a ready-to-go server in your chosen location.
- Regional optimization: Leverage nearby data centers to cut down latency and improve loading speeds for users in that region.
- Faster storage with NVMe drives: Enjoy faster performance with high-speed NVMe drives included in every plan.
- Custom OS and control panel options. Decide what works best for you: CyberPanel, Hestia, or just roll with your favorite distro.
Hands-On with PQ.Hosting
In this section, I’ll walk you through the process of setting up and using PQ.Hosting based on my own experience.
Server Activation and Setup
The first step to using PQ.Hosting is to register an account. Go to the company’s website and click on the registration button at the top right. Then create a new account or log in using your Google ID to access the service.
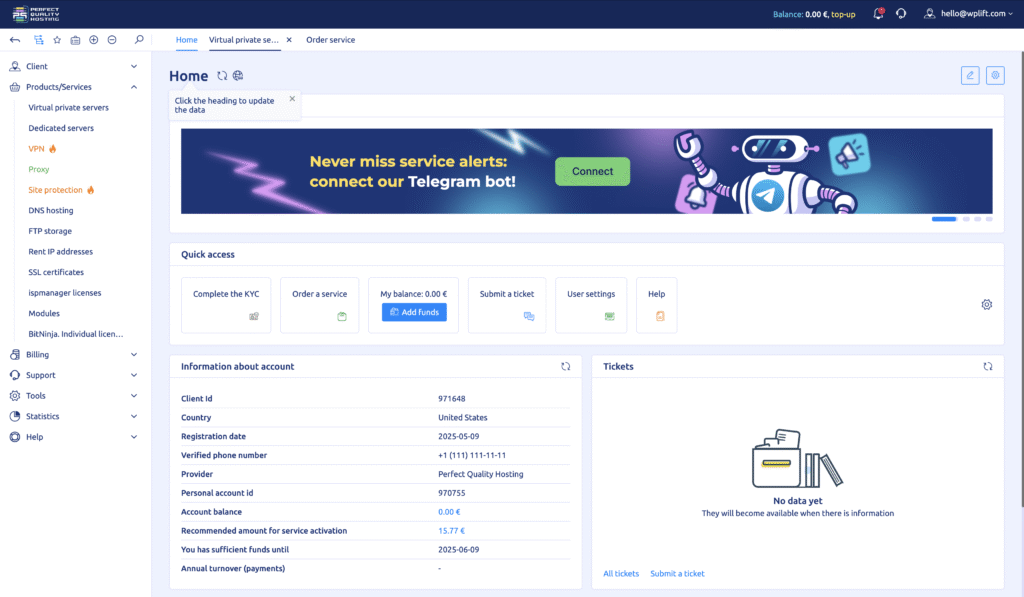
Once done, you’ll be taken to PQ.Hosting’s dashboard which appears like this:
Next, click on Products/Services > Virtual Private Servers in the left-side menu of the dashboard. Then, click “Order” and choose from one of their server plans based on how much RAM, storage, and CPU power you’ll need.
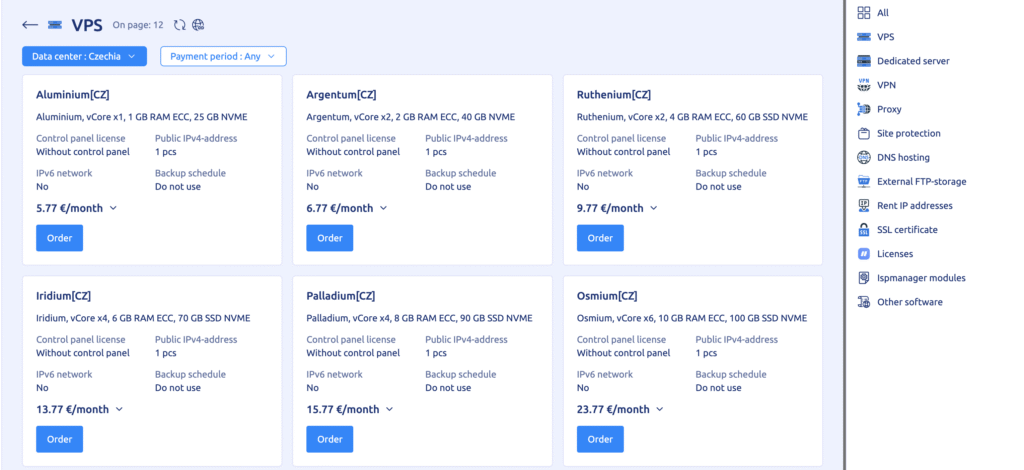
Although the lower-priced plans might seem tempting, make sure to pick something that leaves you with enough storage after site hosting (who knows, you might end up doing another project after a month or so).
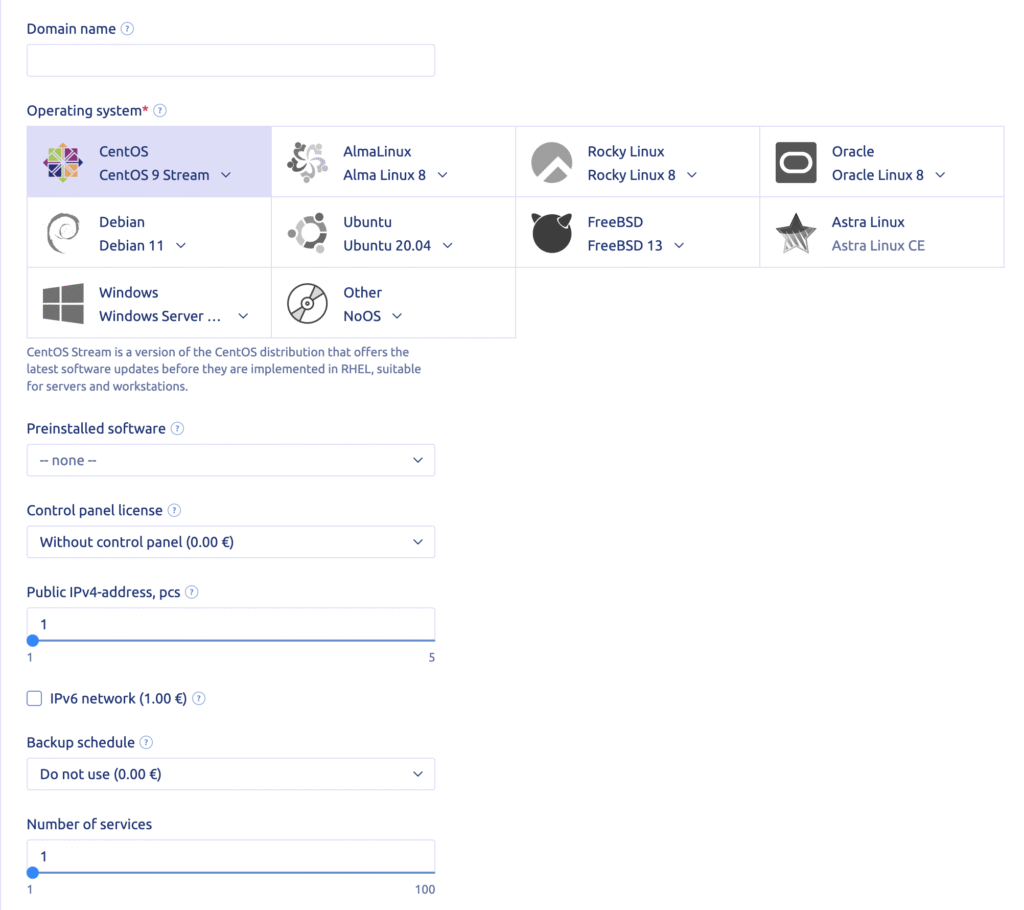
After picking your plan, enter your name, email, and password when PQ.Hosting asks you to. It’ll then redirect you to a dashboard, where you’ll be able to configure your server by OS and other addons.
Once you’re done with configuration, complete the payment and then wait for PQ.Hosting to set things up. In about 10 minutes or so, your server will be live and ready to use.
Managing Your Server After Launch
So your server is live. What’s next?
Let’s go through what happens after activation. You’ll learn how to log in, check your resources, and make sure everything’s running smoothly.
So your server is live. Now what?
Let’s walk through what happens after activation — from logging in for the first time to checking if everything’s running as expected.
1. Get your credentials
Once PQ.Hosting sets up your server, you’ll get an email with the IP address, root username, and password.
Keep this email safe. You’ll use that info to log in using a terminal or SSH app.
If you chose a control panel like CyberPanel or Hestia, you’ll also get login details for that.
2. First login
Open a terminal (or an SSH client like PuTTY on Windows).
Connect using your server’s IP, root as the username, and the password from your email.
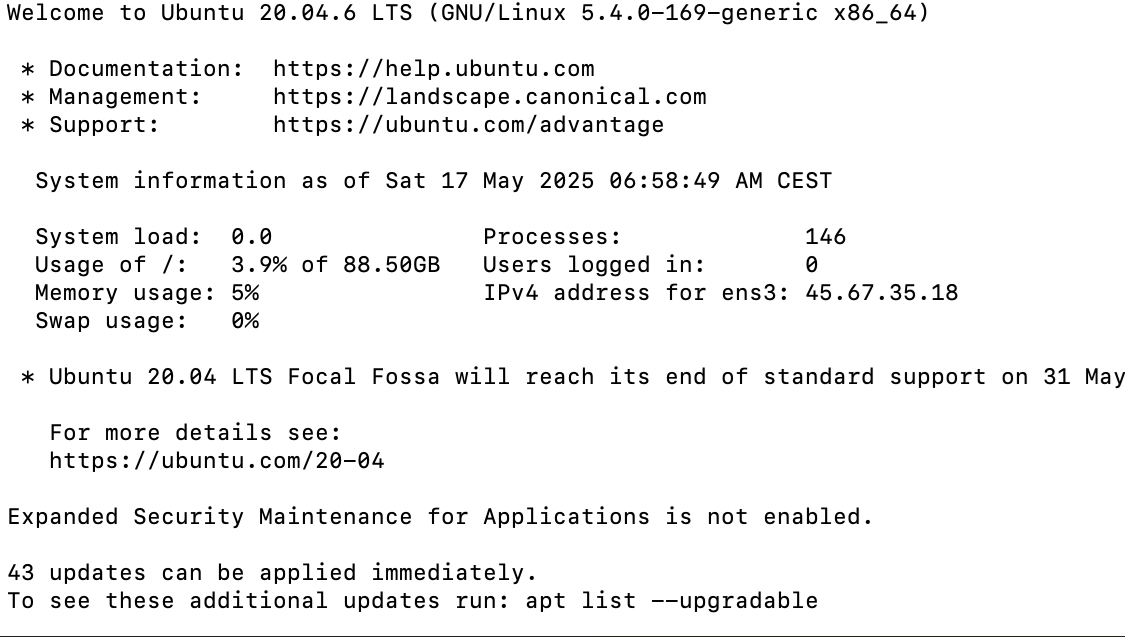
Once you’re in, the first thing you should do is change your root password. It’s basic security — and PQ.Hosting recommends it too.
3. Using the control panel (optional)
If you picked a pre-installed panel, you can access it from your browser using the port shown in your dashboard (for example, CyberPanel often uses :8090).
Use the default admin credentials to log in, then change those passwords too.
From there, you can start managing websites, databases, SSL, email, and more.
4. Rebooting or reinstalling
Stuff goes wrong. Or maybe you just want a clean slate.
You can reboot your server or reinstall the OS from the VM Manager — PQ.Hosting’s external panel that connects directly to your VPS.
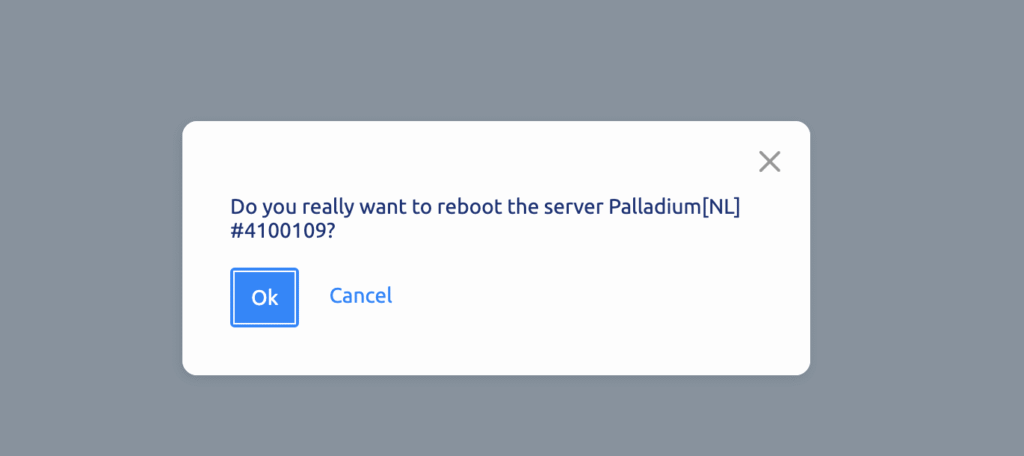
No need to contact support for this part.
5. Keep an eye on server stats
Inside the dashboard and VM Manager, you’ll find charts and numbers showing CPU, RAM, and traffic usage.
This is useful if you want to track performance or spot bottlenecks early.
6. Need help?
PQ.Hosting support is available 24/7 through live chat and tickets.
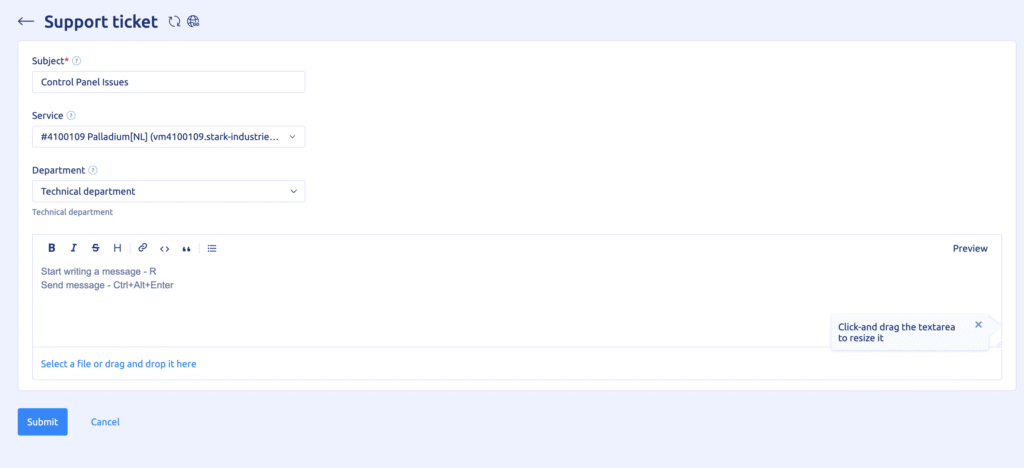
If something doesn’t look right, like a panel not installing or credentials not working, open a ticket from your dashboard. In most cases, they respond within 10–15 minutes
Hosting Your Website or App
So your server is live and ready. Now comes the real test — getting your website online.
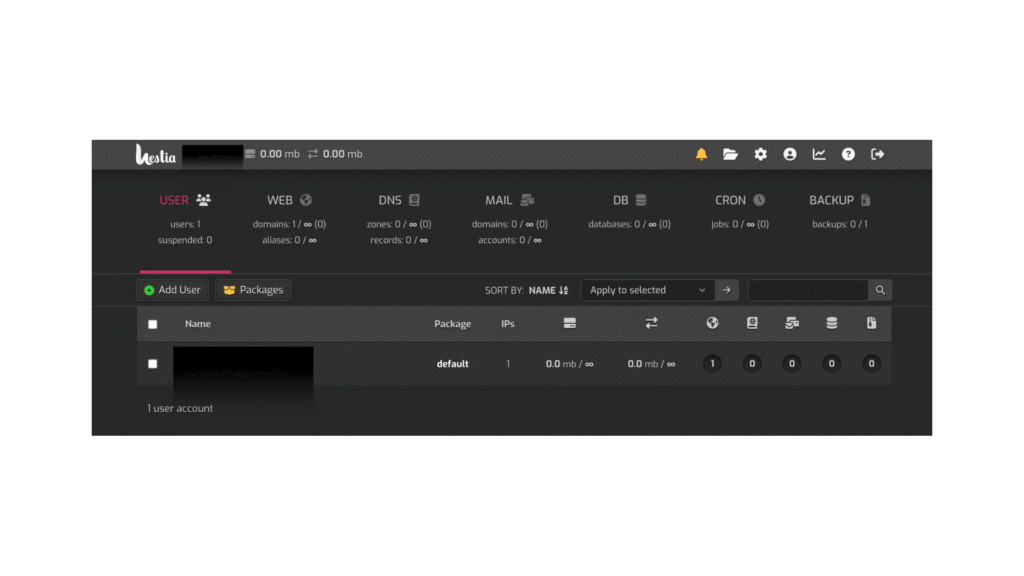
In this section, I’ll walk you through how I used PQ.Hosting’s HestiaCP setup to install a site, test performance, and check DNS.
Log into your control panel
Open your browser and go to https://your-server-ip:8083/
Enter your admin username and password. Once inside, you’ll see a clean dashboard with options to manage websites, databases, SSL, and more.
Create your first website
Click “Add Web Domain” from the top menu or the web section.
Enter your domain name and enable SSL if needed. HestiaCP will set up your virtual host and create the necessary directory paths for your site.
Once done, visiting your domain in the browser should show a default Hestia welcome page.
Add your domain and point it to your server
Go to your domain registrar and update your A record. Point it to your server’s IP address, which you received in your welcome email.
Propagation may take a few hours, but for me, it kicked in within 30 minutes.
To speed things up during testing, you can also edit your local host file to preview the site without waiting.
Upload your content or install WordPress
You can use the file manager or connect via SFTP to upload HTML files.
To install WordPress, go to the “Apps” section under your domain and select WordPress.
Fill out your site title, admin username, password, and email. Then hit install.
After a minute or so, you can log into your new WordPress site and start customizing.

Enable SSL and test the site
CyberPanel makes it easy to request a free SSL certificate with Let’s Encrypt.
Just click “Manage Website” > “SSL” > “Issue SSL.” Wait a few seconds, then refresh your site using https://.
Managing Your Server with VMmanager
Once your VPS is live, PQ.Hosting gives you access to VMmanager, the external panel where you manage your server.
You’ll find a link to it in your activation email. You can also open it directly from your dashboard by clicking the “Virtual servers” tab and hitting the Open icon next to your server. No need to remember a separate password — you’ll be logged in automatically.

Inside VMmanager, you can:
- Reboot your server
- Reinstall your operating system
- View real-time traffic and load stats
- Enter recovery mode if something breaks
- Monitor how much CPU and RAM your server is using
For those used to cPanel or Plesk, this panel might feel different at first. But it doesn’t take long to get the hang of it. Once you’re in, you’ve got full control over your server with just a few clicks.
PQ.Hosting Price Plans
PQ.Hosting offers several pricing plans to suit the needs of different businesses.
You have VPS plans starting from 5.77 EUR a month. You can choose a lightweight option for testing, or scale up to higher RAM and CPU plans for production use.
Dedicated servers start at 250 EUR a month. You can pick from setups with dual processors, SSDs, and 10 Gbps ports depending on how demanding your workload is.
For me, PQ.Hosting offers:
- VPN plans for 6.55 EUR/month
- Anti-DDoS protection for 50 EUR/month
- Backup storage from 1 EUR/month for 25GB
- ISPmanager licenses from 4 EUR/month depending on version
As for payment, you can pay using Visa, Mastercard, Google Pay, Apple Pay, PayPal, Revolut, or crypto like Bitcoin and Ethereum. They also support local gateways like YooMoney and Freekassa.
Final Verdict
That’s it from my time with PQ.Hosting.
As I tested more, I came to appreciate how fast the setup was and how much control I had throughout.
From choosing a location to launching a live site, everything stayed clear and responsive. When I ran into a glitch with the panel, support stepped in and resolved it quickly.
If you’re looking for low-cost VPS hosting with reliable speeds, flexible setups, and wide location coverage, PQ.Hosting is worth checking out.