WPLift is supported by its audience. When you purchase through links on our site, we may earn an affiliate commission.
How to Configure Page Layout Settings in Elementor
Over 10 million websites rely on Elementor, and it’s no wonder why—it’s user-friendly, flexible, and packed with features.
However, configuring Elementor page layout settings can be tricky, especially when layouts don’t align or respond the way you want. That’s where understanding Elementor’s tools can make all the difference.
With its intuitive interface, Elementor lets you effortlessly tweak everything from global layout settings to individual page designs—no coding required. Whether you’re refining a responsive layout or perfecting your alignment, Elementor offers the flexibility to create a professional, seamless website.
This guide will walk you through Elementor’s layout settings step by step so that you can confidently create layouts that align perfectly with your vision. Let’s get started!
How to Access and Configure Page Settings in Elementor?
Configuring page settings in Elementor is the first step to creating a well-structured and visually appealing website. These settings will help determine how your page appears and functions within the broader structure of your website. Here’s a step-by-step guide to accessing and configuring your page settings in Elementor:
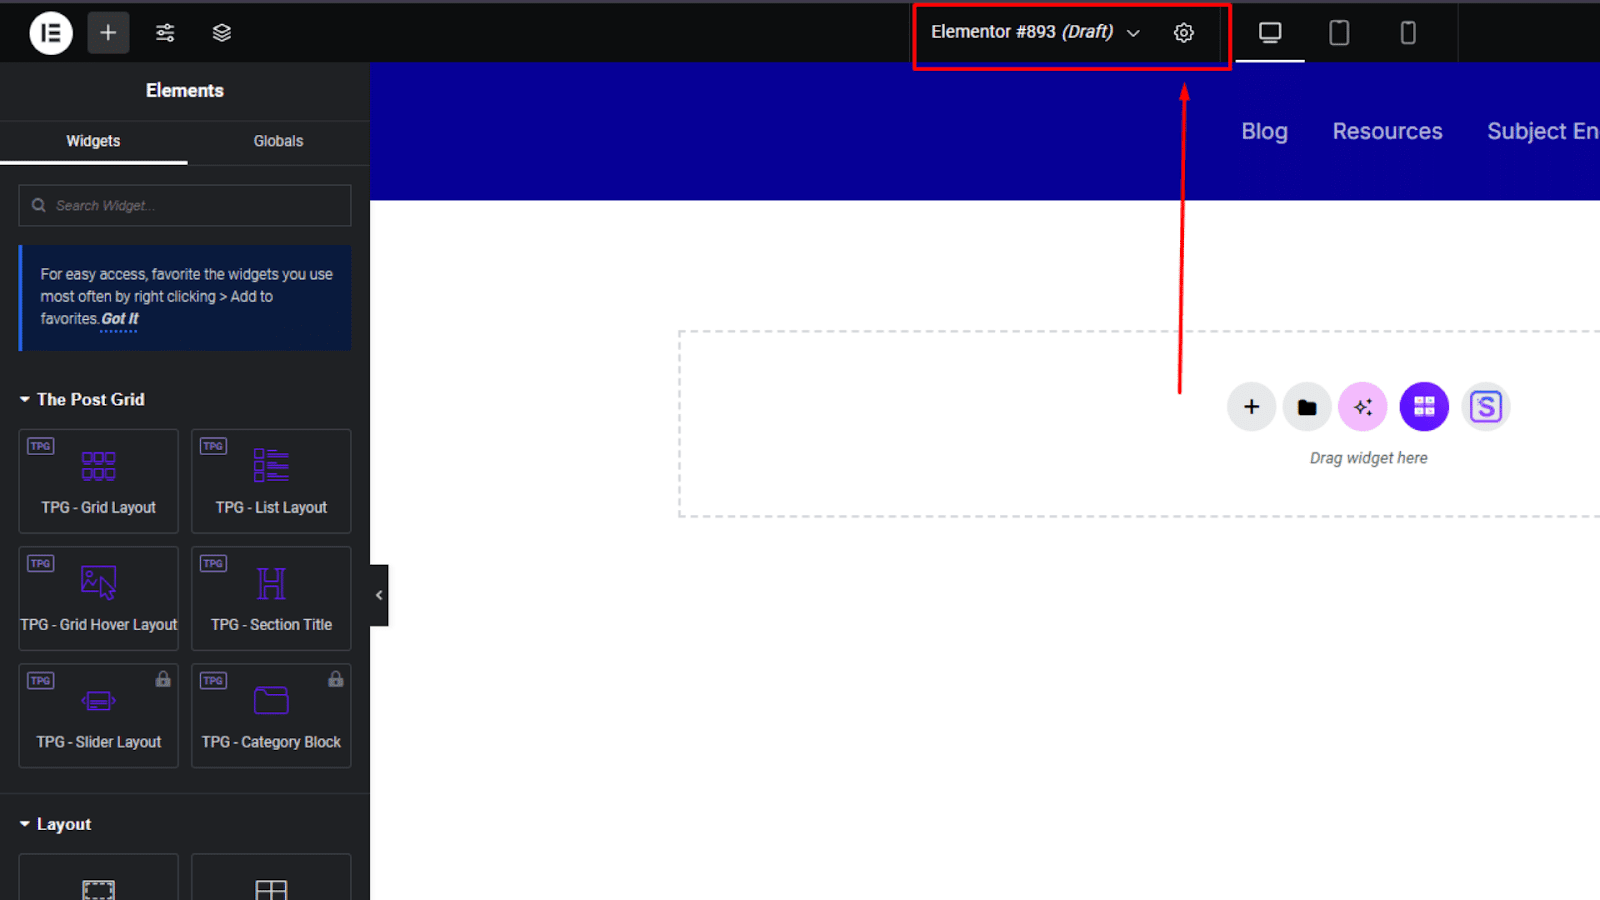
Step 1: Open the Elementor Editor
First, log in to your WordPress dashboard
and navigate to the Pages section.
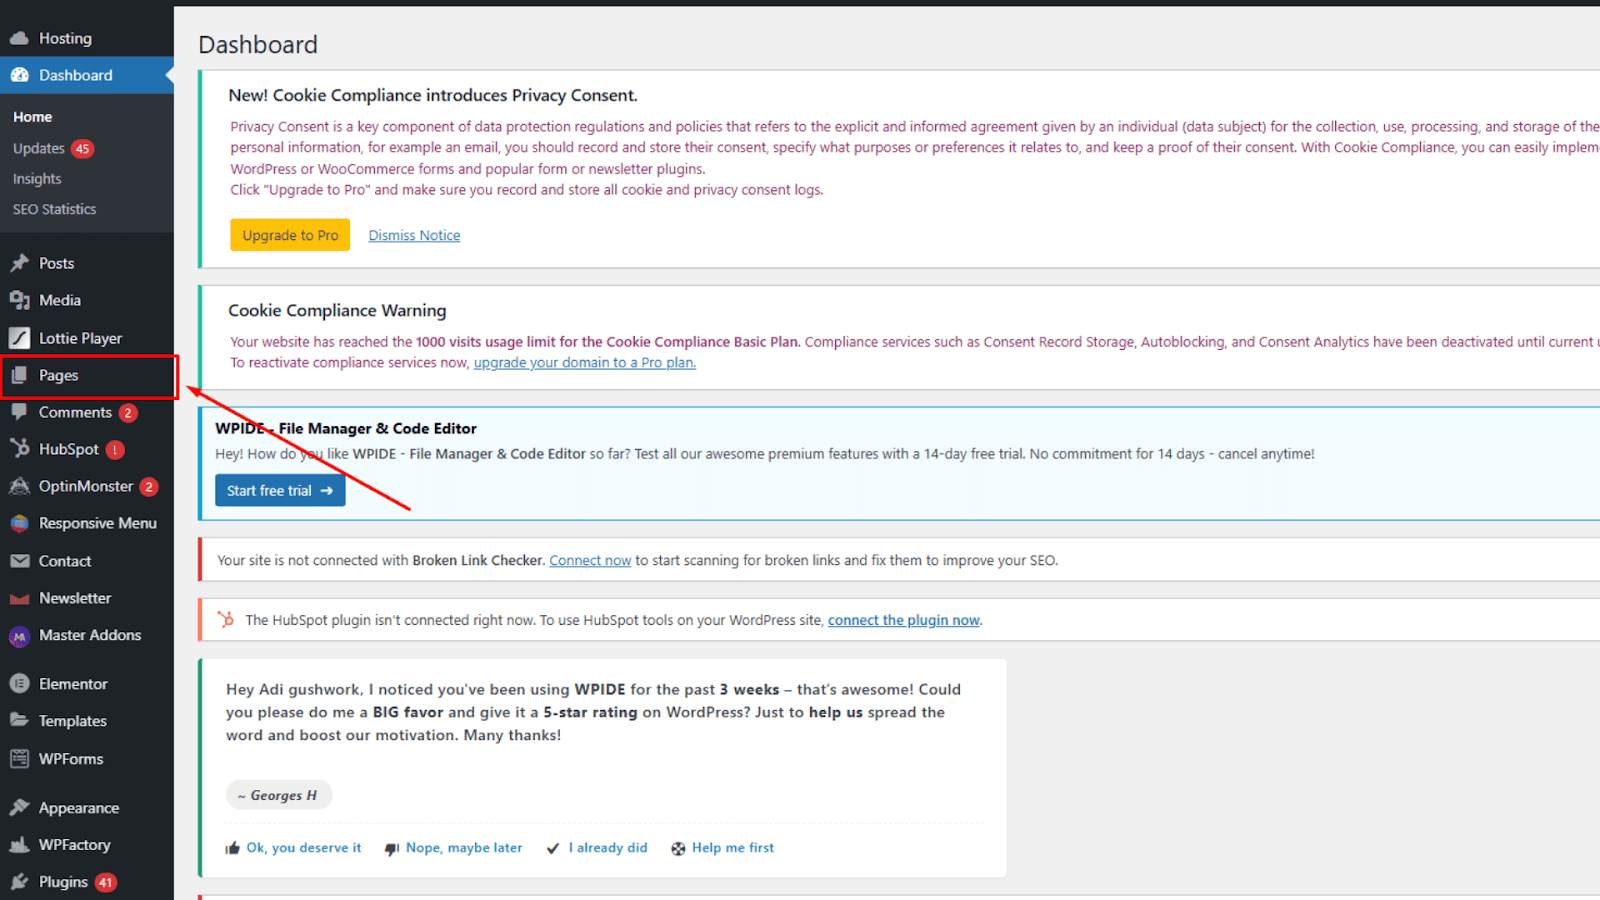
Locate the page you want to edit and click Edit with Elementor.
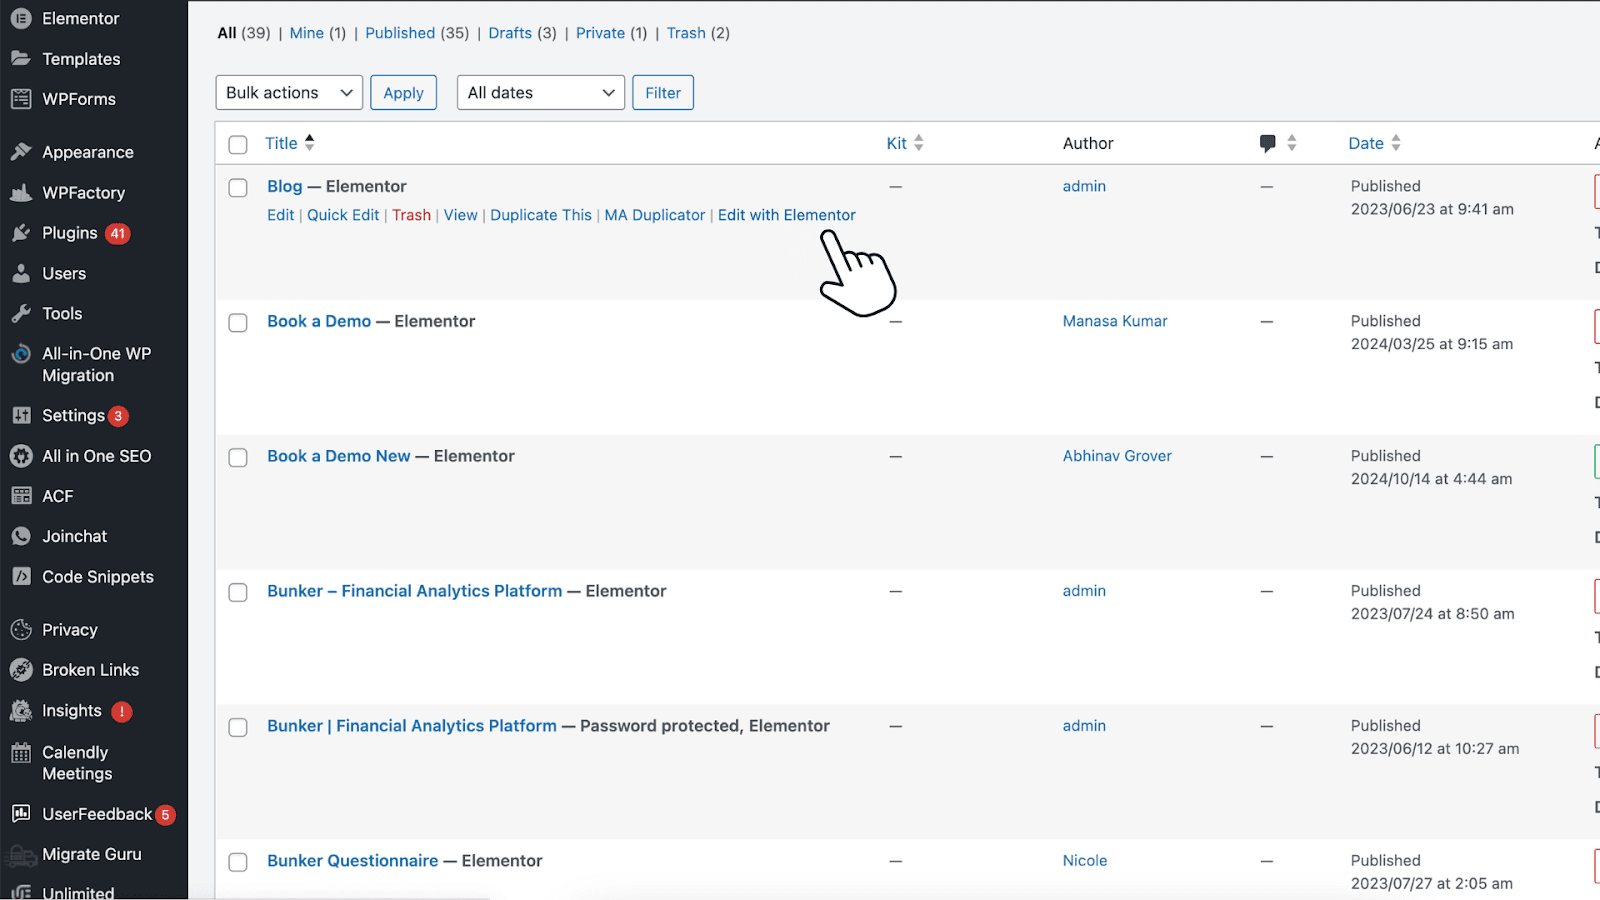
This will open the Elementor editor, where you can start customizing your page layout.
Step 2: Find the Page Settings Panel
Once you’re in the Elementor editor, click on the gear icon to open the Page Settings menu.
This is where you’ll configure the layout options for the entire page.
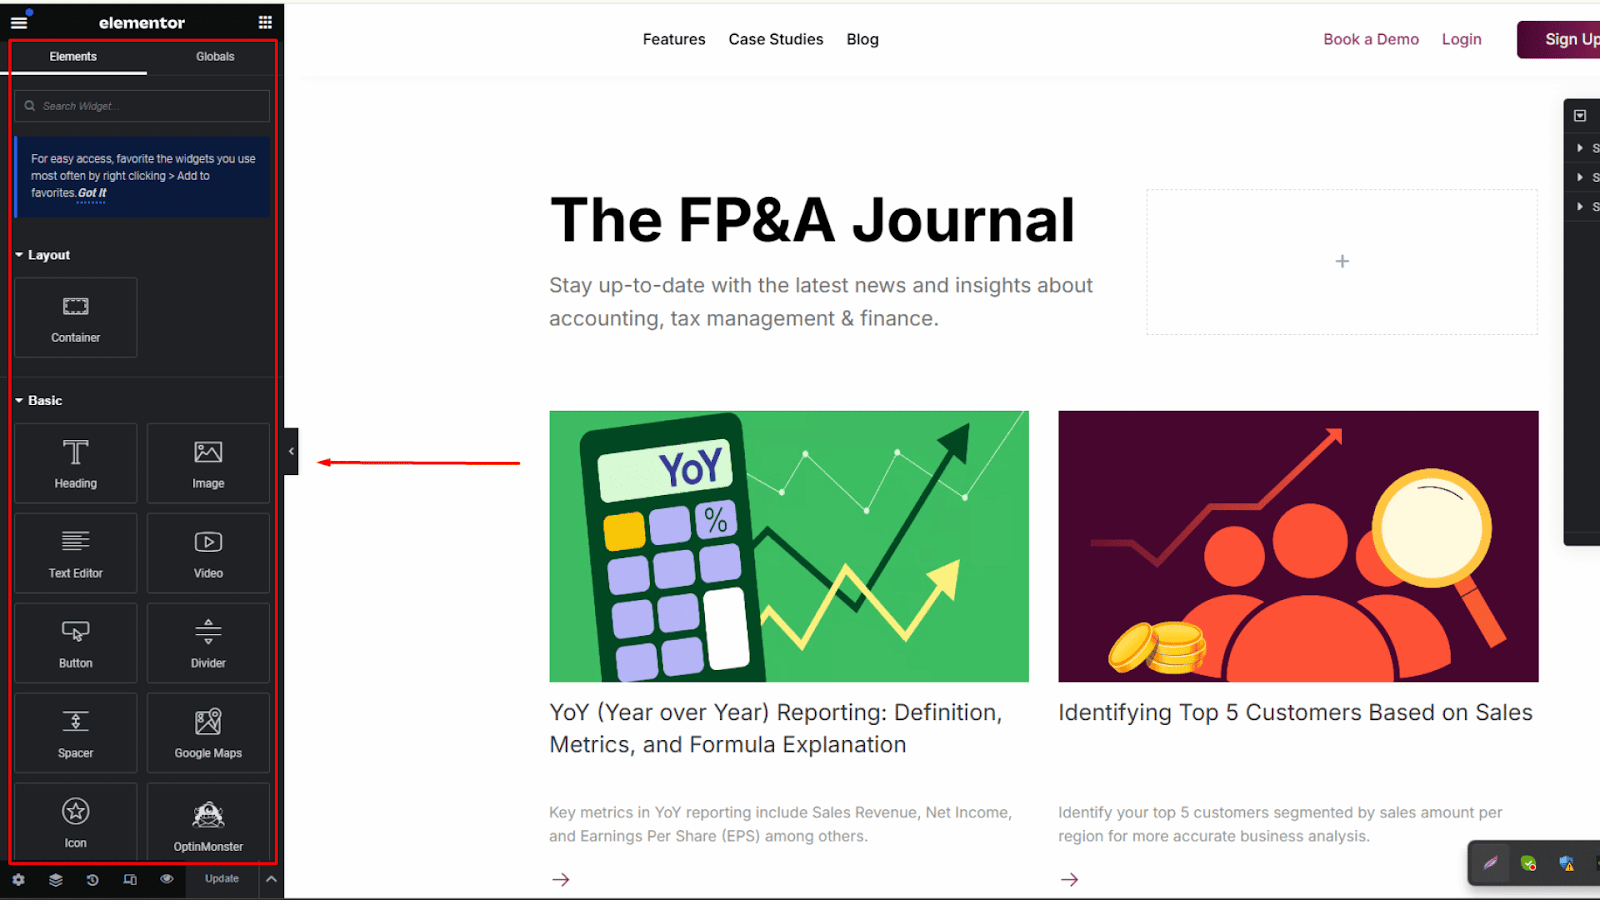
Step 3: Explore the ‘Settings’ Tab
This is the tab where you can make the basic adjustments to the page.
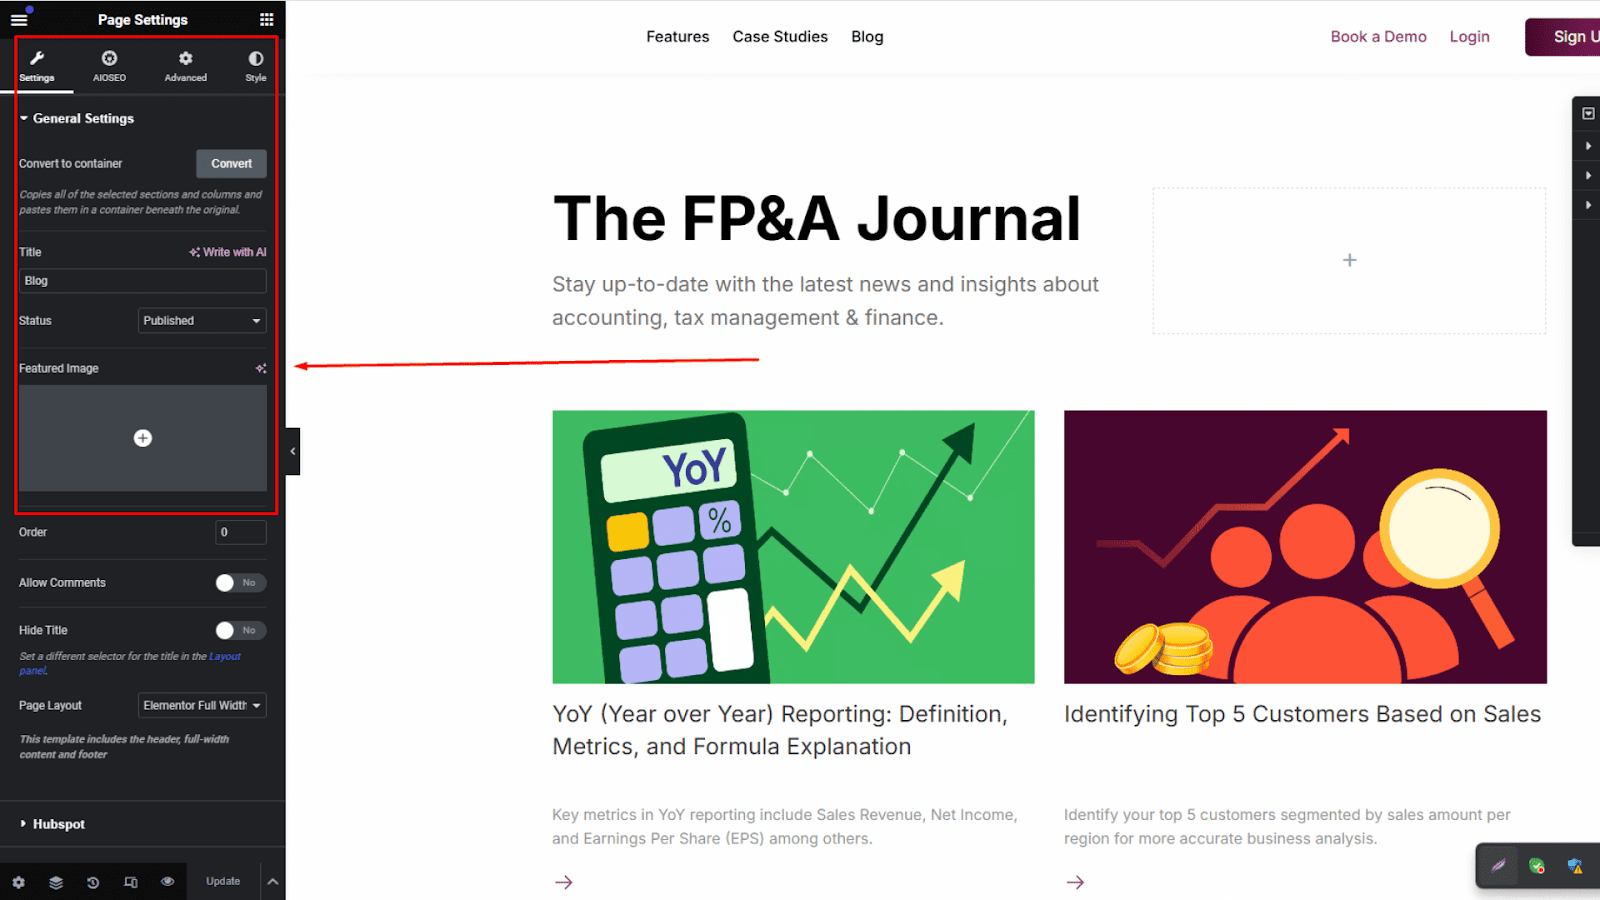
Here’s what you can do:
1. Title
Update the page title to accurately describe the content and purpose of the page. This helps improve clarity and boosts SEO.
2. Status
Set the publishing status of the page to either:
- Draft: Save the page for future editing without making it visible to visitors.
- Published: Make the page live and accessible to everyone.
- Private: Restrict access to logged-in users with appropriate permissions.
3. Excerpt
Add a summary or description of the page. This helps search engines display relevant snippets in search results and provides context on archive or listing pages.
4. Featured Image
Assign a featured image to visually represent the page. This is especially useful for blog posts or social media sharing to enhance visual appeal and branding.
5. Order
Use a numerical value to set the display order of pages in menus or lists. Lower numbers are shown first, allowing you to organize the order of pages effectively.
6. Allow Comments
Enable or disable visitors’ ability to leave comments on the page. This is useful for controlling interaction and feedback based on the purpose of the page. For example, you might disable comments on a landing page but enable them on a blog post for reader engagement.
7. Hide Title
If you prefer a clean, uninterrupted design, you can hide the page title. Just toggle the option to “Yes” to remove it, and you will have a blank canvas for your layout.
8. Page Layout
Elementor gives you several layout options to choose from:
- Default: Uses the layout defined by the active WordPress theme.
- Elementor Canvas: Provides a blank slate by removing the header, footer, and sidebar.
- Elementor Full Width: Removes the sidebar while keeping the header and footer, offering a spacious layout.
Configuring these settings will help you build a solid foundation for your page design. Once this basic page setup is complete, you can start refining the look and feel of your page.
Step 4: Customize the ‘Style’ Tab
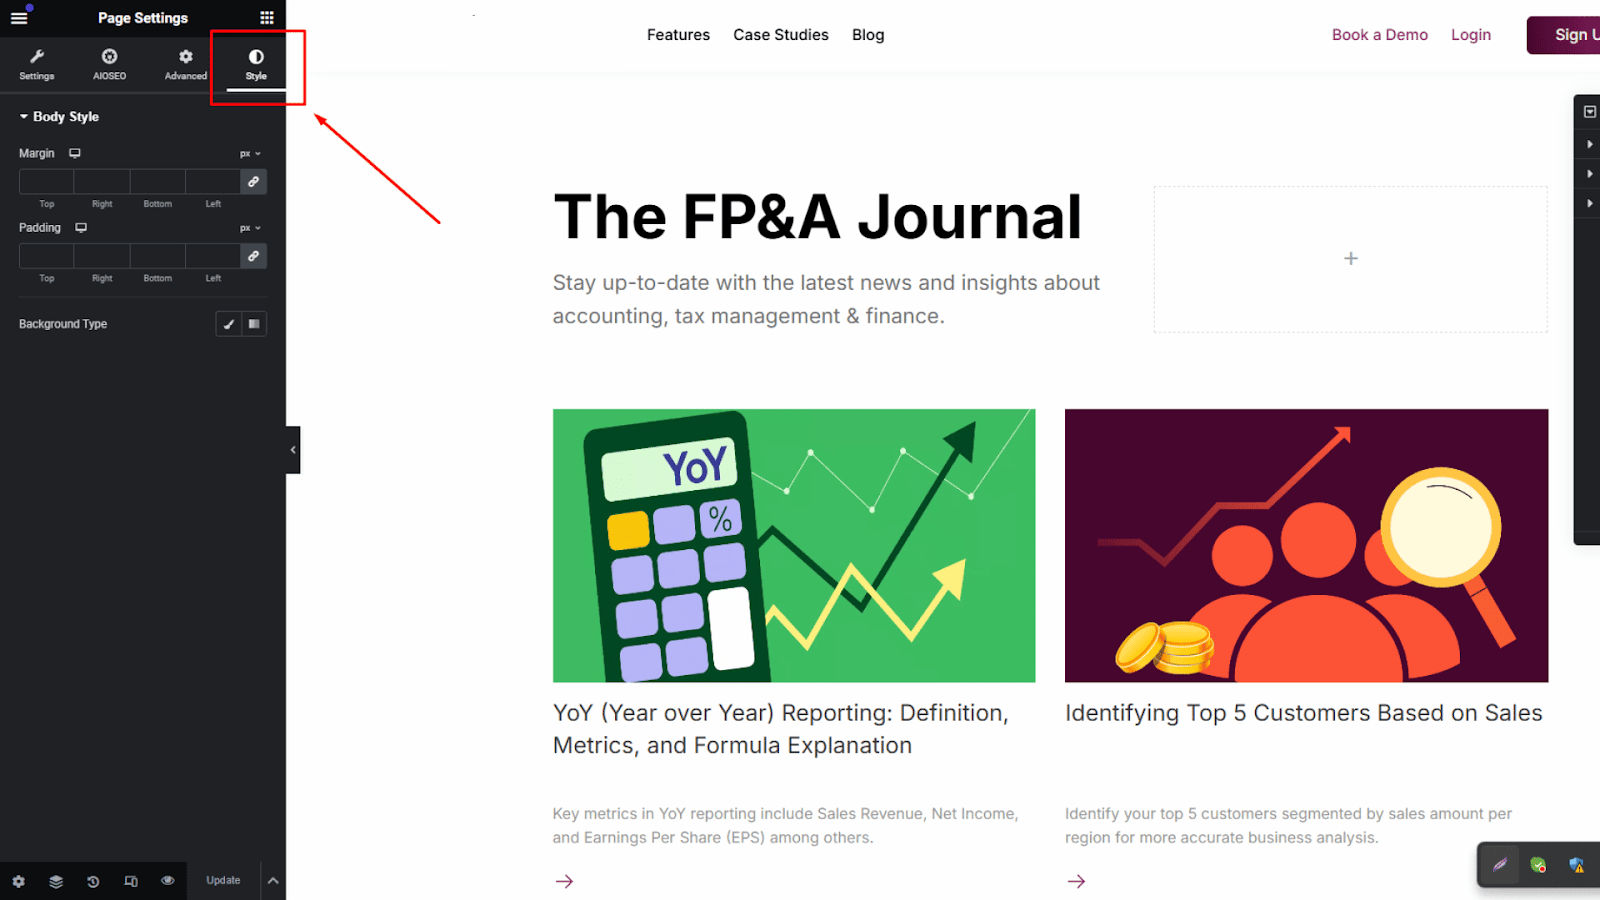
In the Style tab, you can work on the visual aspects of the page:
- Background Type: Choose from a solid color, gradient, or image to create the perfect backdrop and set the tone for your page content.
- Spacing: Use margin and padding controls to adjust the space around the content so that everything looks clean and aligned. Margin controls the space outside an element, while padding adjusts the space inside an element.
Step 5: Use the ‘Advanced’ Tab
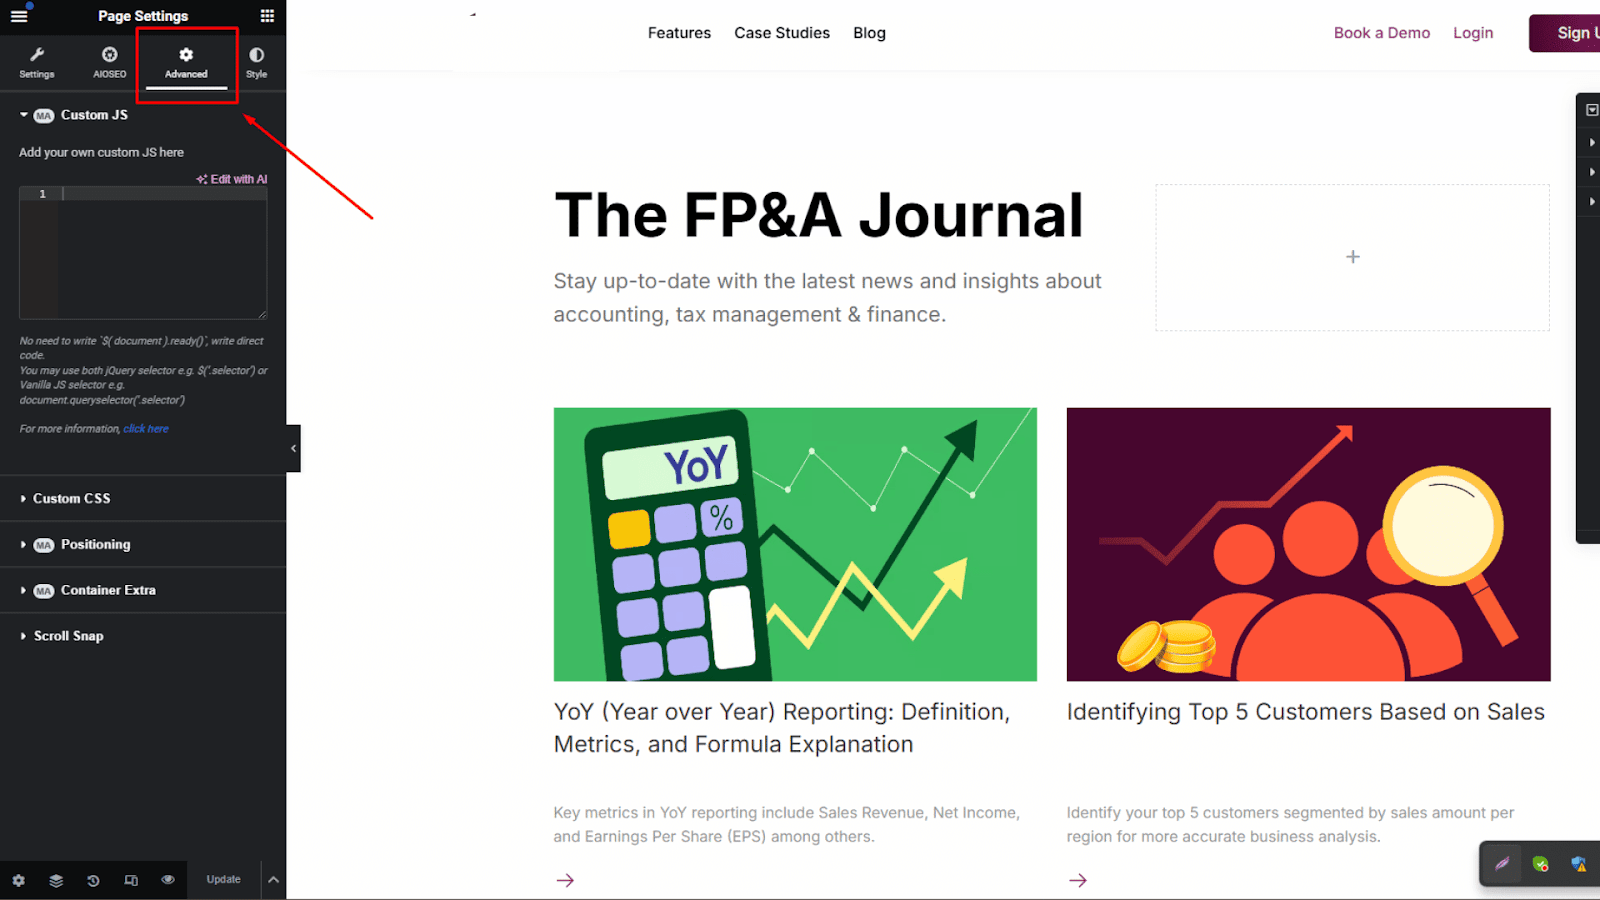
For more specific customizations, you can use the Advanced tab:
- Custom CSS: Write CSS directly into this section if the page design requires unique styling. It gives you precise control over how elements appear.
- Scroll Snap: Ensure smooth navigation by controlling how the page snaps during scrolling (if applicable).
Step 6: Save and Apply Changes
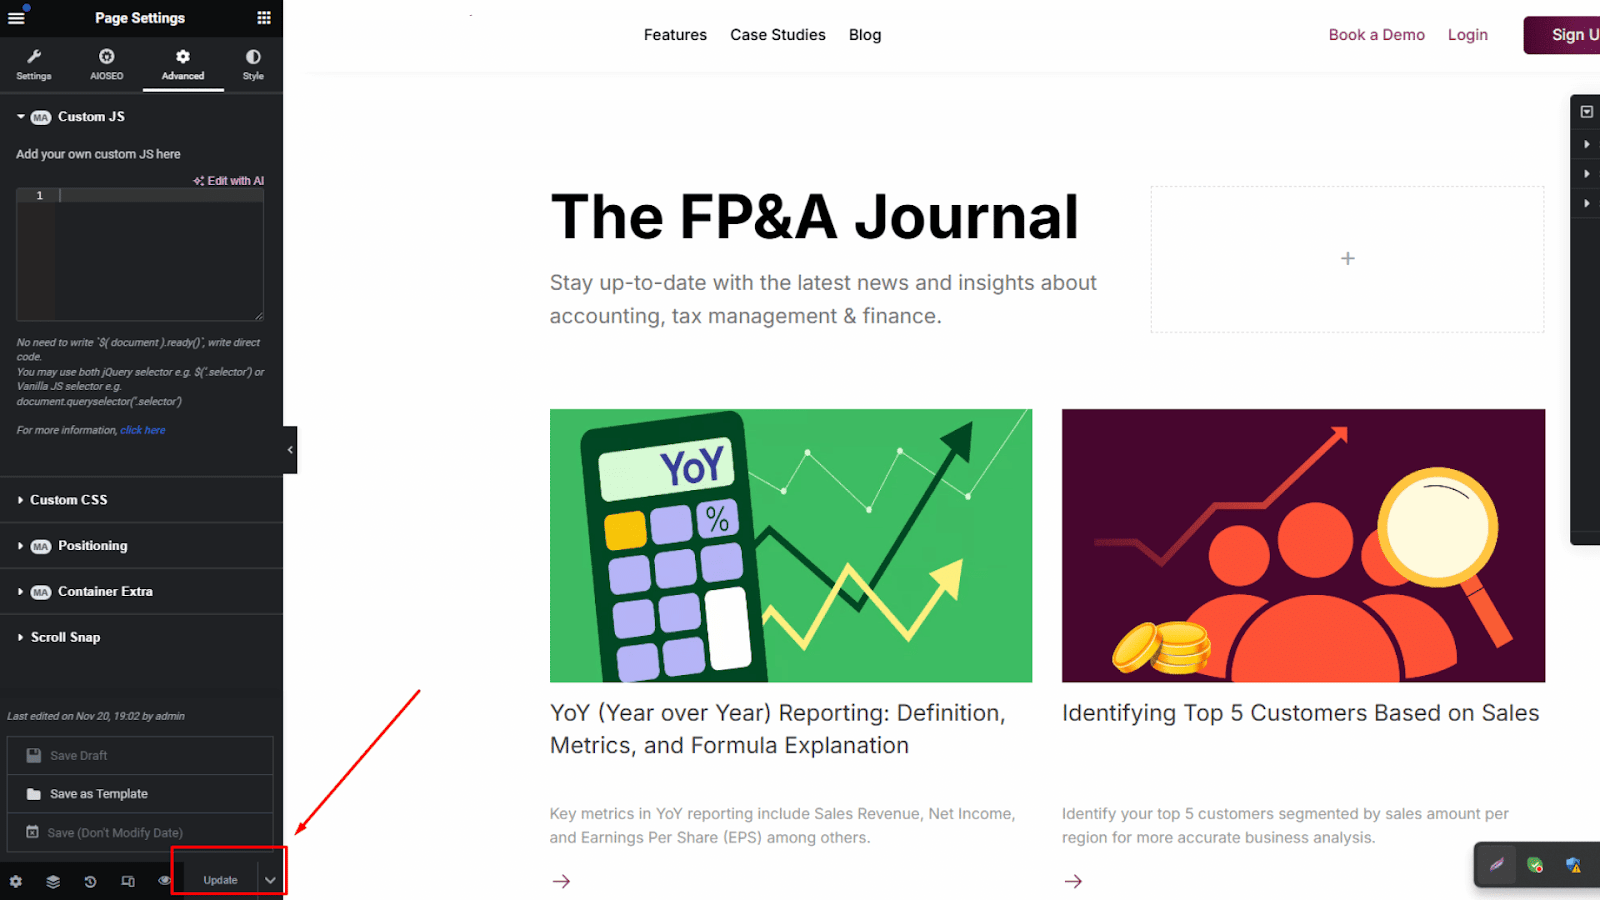
After making all the adjustments, click the Update button to save your changes and apply them to the page.
With the page layout in place, let’s look into a few elements that will complete the design.
Key Page Elements in Elementor
Once you’ve set up your page layout, the next step is to focus on the key elements that will give your page personality and structure. Here’s an overview of these elements and how you can customize them:
Header and Footer Settings
The header and footer will help you frame your page and provide consistency across your site. Here’s how you can customize them:
- Hide Page Title: You can choose to hide the page title using the Hide Title option in Page Settings.
- Header Layout: Choose between a Normal Header (with a solid background) or a Transparent Header for a seamless, edge-to-edge design.
- Canvas Layout: Use the Elementor Canvas layout if you want to hide both the header and footer for a clean, full-screen design.
- Footer Display: In Page Settings, you can choose to hide or display the footer area for a cleaner or more content-focused page.
- Footer Widget Area: If the footer is displayed, you can select a specific widget area to customize it with elements like contact info or social media links.
Sidebar Customization
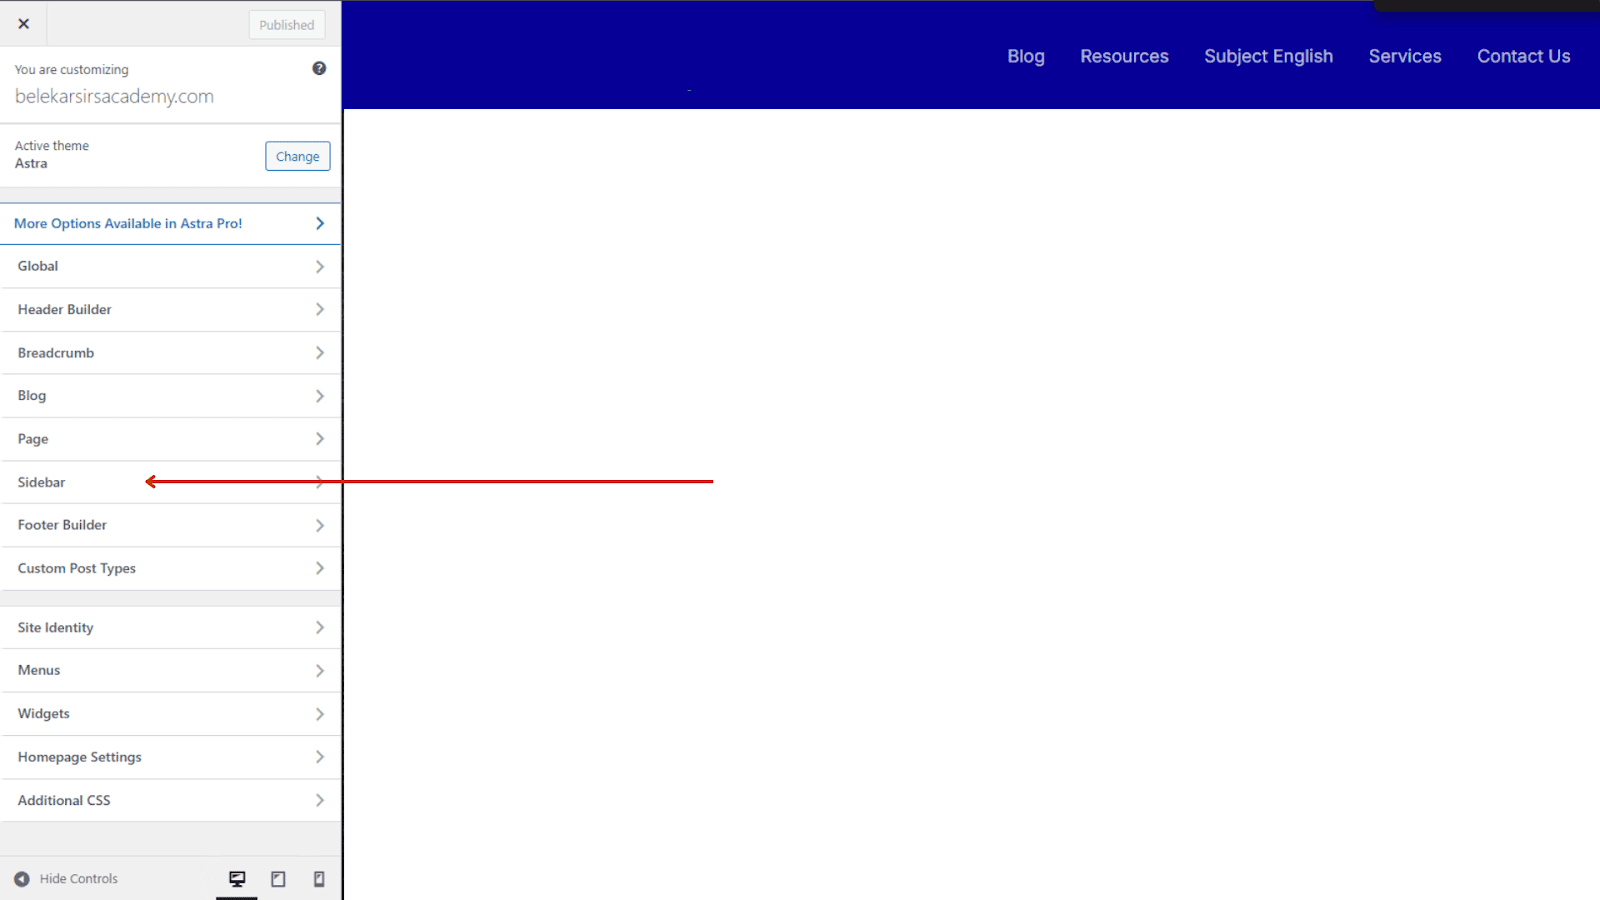
The sidebar is a versatile space where you can add navigation links, display widgets, or showcase important information to enhance the user experience.
- Sidebar Position: Use the Page Layout dropdown in the settings to display the sidebar on the left, right, or hide it altogether.
- Sidebar Widgets: To populate the sidebar with content, go to Appearance > Widgets in WordPress and assign the appropriate widget area.
Menu and Padding Settings
Playing around with your menus and padding can bring your layout to life and make navigation smooth for users. Here’s how to make those adjustments:
- Custom Menus: Use Elementor’s Nav Menu Widget to add or replace menus specific to your page. This is ideal for creating tailored navigation without affecting the global menu.
- Padding Adjustments: Adjust top, bottom, left, and right padding through the Advanced tab. For responsive designs, configure separate values for desktops, tablets, and mobile views.
By combining these settings, you can create a layout that aligns with your design goals while optimizing usability and functionality.
How To Configure Site Layout and Content Width in Elementor?
Another aspect to consider when refining your page layout is how the site is structured in terms of design and content width. Aligning these elements will ensure that your site maintains consistency and functions seamlessly across all devices.
Elementor’s default content width is 1140px, which works well for most modern website designs. However, if your WordPress theme uses a different width (e.g., 960px or custom dimensions), you may need to adjust the settings to maintain alignment and avoid design inconsistencies across pages.
Steps to Adjust Site Layout Settings
Follow these simple steps to modify the site layout in WordPress Customizer:
- Open your WordPress dashboard and go to Appearance > Customize.
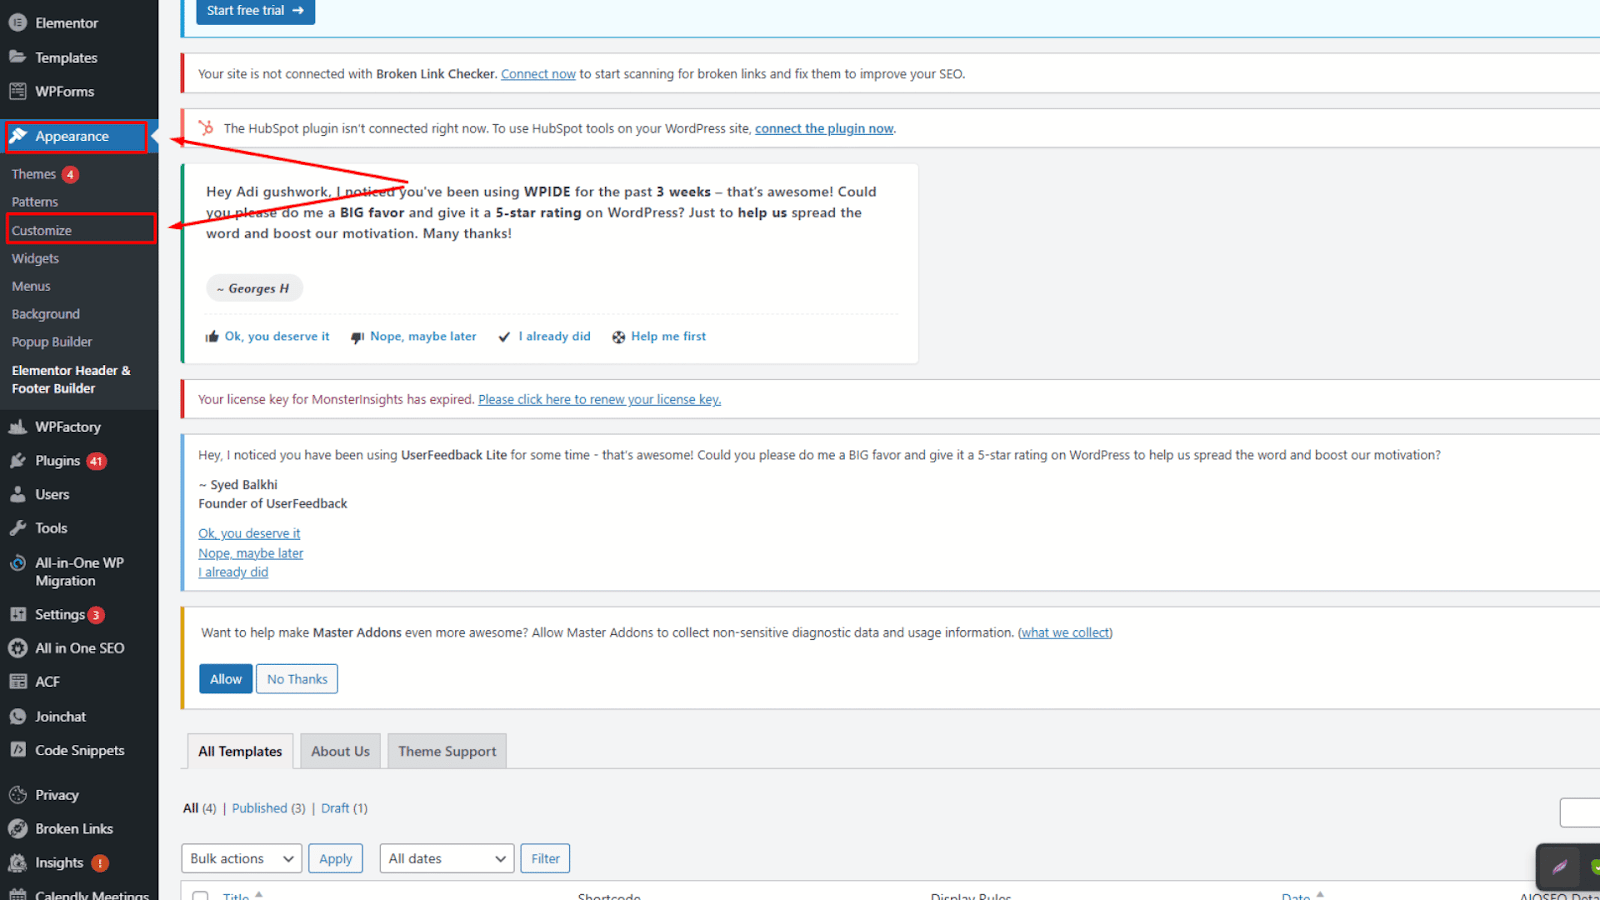
- Find the option labeled Layout Settings (it may be called something slightly different depending on your theme).
- Adjust the container width to 1140px to match Elementor’s default content width.
- Click Publish to apply the changes.
If your theme doesn’t allow container width adjustments in the Customizer, don’t worry—Elementor offers an alternative.
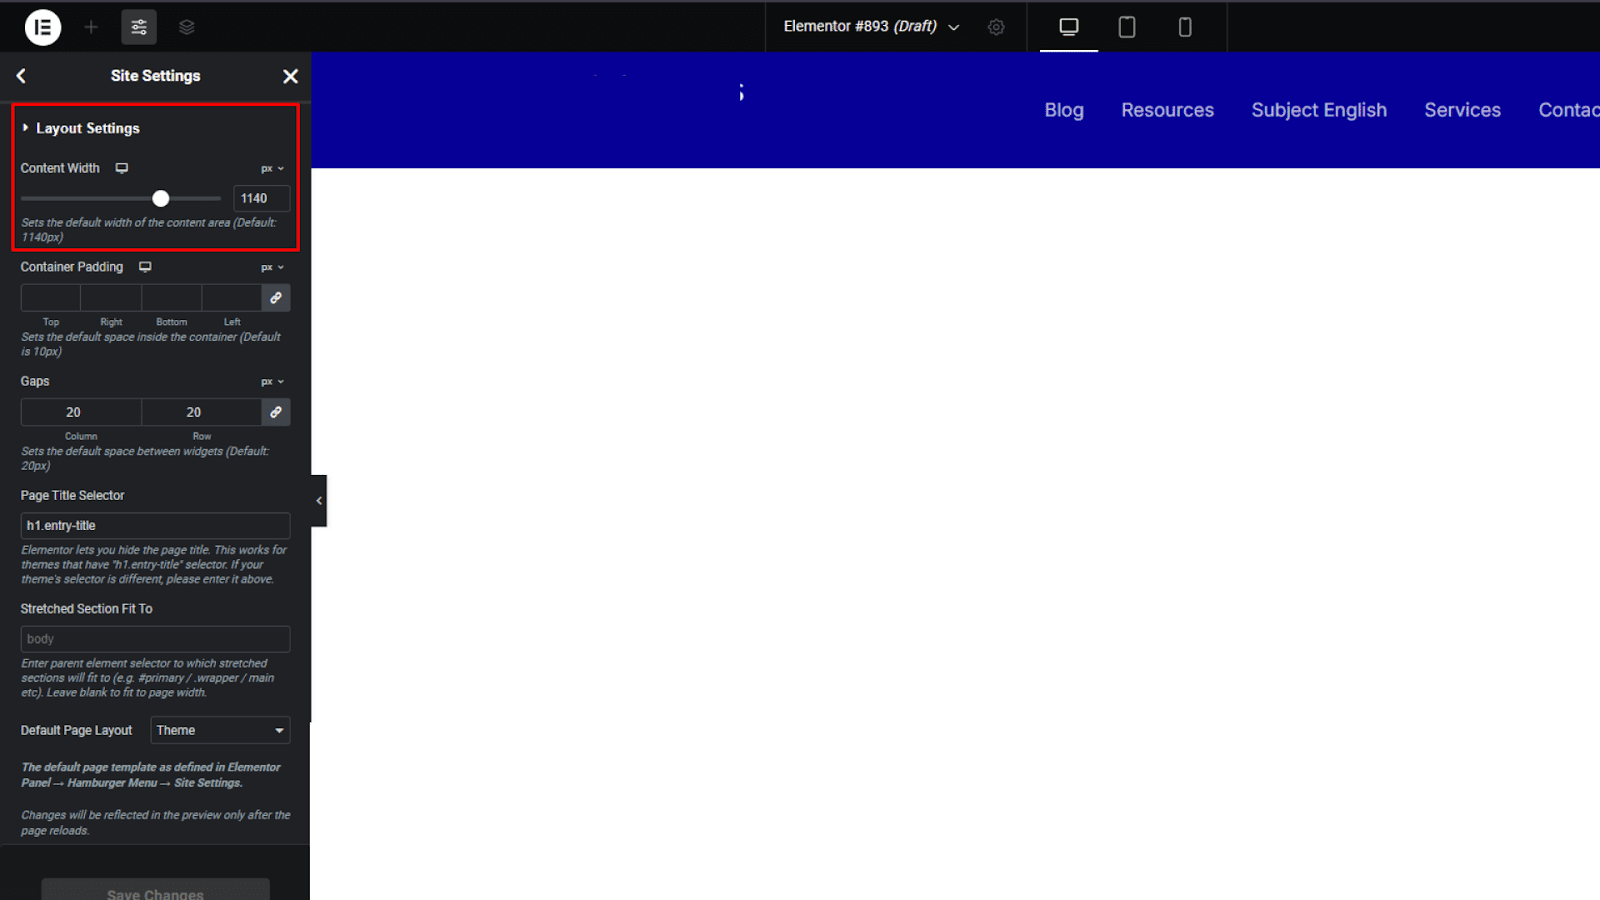
How To Make Adjustments in Elementor

- From the WordPress dashboard, open a page and click Edit with Elementor.
- Click the hamburger menu (three horizontal lines) in the top-left corner of the editor.
- Go to Site Settings > Layout.
- Use the Content Width slider to match your theme’s container width.
Once your site layout is aligned, you can customize individual pages and create more advanced designs.
Conclusion
Configuring your page layout settings in Elementor allows you to create a seamless and visually appealing website. By understanding and adjusting key elements like layout, header, footer, and content width, you can ensure that your site looks great on all devices. With these tips, you can confidently design pages that align with your brand and meet your design goals.
At WPLift, we’re here to help you make the most of Elementor and other WordPress tools. Check out our guides, tutorials, and reviews to quickly learn how to create a professional website.